-
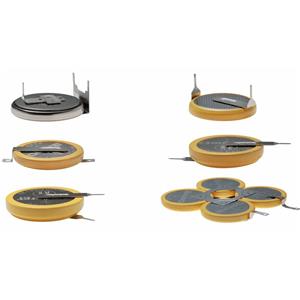
In 2026, China's smart meter industry is entering a high-quality growth cycle driven by a massive replacement wave of over 350 million units and the strict implementation of 2025 national standards. This shift eliminates low-price competition, raising average winning bid prices by over 20%. Key Highlights Market Surge: Driven by an 8–10 year lifecycle expiration and 2025 restocking demands, State Grid’s 2026 tender volume is projected to reach 100 million units (a 44%–59% YoY increase). Technical Hurdle: Upgraded to smart IoT terminals, new meters require core components to withstand extreme temperatures (-40°C to +70°C) and support high-load, long-term communication. Battery Solution: Power Glory’s CR-T Wide Temperature Series button batteries (-40°C to 85°C) directly solve these reliability challenges through superior temperature adaptability, high-current discharge, and extended lifespans.
-
1102-2025
Problems using TV remote control
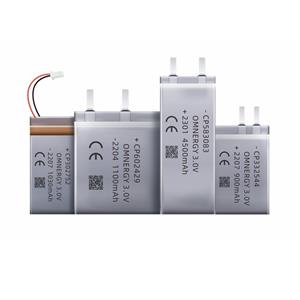
Omnergy brand batteries, all technical indicators of products have reached or even exceeded international standards, and have passed IATF16949, ISO9001, ISO14001, UL, CE, RoHs, UN38.3 and other certifications. All technical indicators of products have reached or even exceeded IEC international standards and Japanese JISC8512 standards. Products are exported to Asia, Europe, America and other regions, and have established long-term and stable cooperative relations with many well-known consumer battery brand companies around the world.
-
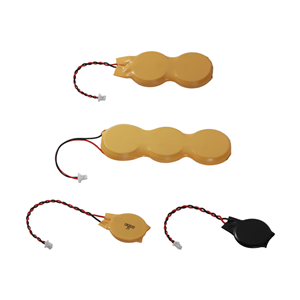
Working principle of smart rice cooker Smart rice cooker refers to a new generation of rice cooker that is different from traditional mechanical cooker. It has three major features: "cooking delicious rice, appointment timing, and multiple functions". It uses microcomputer chips to control the temperature of the heating device and accurately and automatically control the temperature of the bottom of the pot. If you encounter the problem that the appointment function cannot be used normally, it is likely that the battery in the smart rice cooker needs to be replaced. There is no need to worry whether the rice cooker is broken and needs to be replaced. Steps to replace the battery of a smart rice cooker 1. Make sure you have purchased new batteries of the same specifications and models suitable for the rice cooker, such as button batteries 2477, 2450, 2354 and other models. 2. Unplug the plug from the wall and make sure that the rice cooker is completely disconnected. 3. Please use a screwdriver or other suitable tool to open the outer shell, and be careful not to cause any damage to the internal components. 4. Open the outer shell to see a small box or container fixed above the motherboard, and find the location to store the old battery. 5. Use a screwdriver or other tool to gently remove the cover and remove the old battery. 6. Carefully replace the new battery in the original position, ensuring that the positive and negative poles are correct to avoid potential danger. 7. Check carefully that all connections are secure and that no parts remain in the internal space. 8. Close the housing again and tighten it tightly to ensure safety and stability.